Pages

Welcome!

This blog is for those of us girls (and guys) who love everything artsy and enjoy the challenge of discovering new and exciting ways of creating something wonderful. We do not discriminate against any artform but are willing to try them all and pass on our knowledge to you. In addition, we love to feature our ATA Girlz (and guys) so that those people who can't draw a straight line - but love unique and handmade items - can help support our wonderful friends. Visit often to discover what we're "playing" with next!
Showing posts with label collage. Show all posts

Thursday, May 16, 2013

Guerilla Art: How Art Therapy and Guerilla Art Can Set You Free!

Hi Friends, we just wanted to share this bi-monthly column by one of our ATA Girls on the Treasuring Grace blog to share the inspiration. Its about an art therapy process that involves giving away your artwork... kind of Guerilla Art.... meant to help artists release their emotional baggage along with the canvas...
Check it out. What do you think?

Making Whole: Healing Through Art: Found Hope (Love,Courage, Peace,...) Guerilla Art

by Diane Steinbach

Making Whole is a bi-monthly art therapy column focused on art to heal. 

We have talked about Guerrilla art here before. Basically it is the concept of bringing art into the community in an unexpected way. Usually it involves big, bold artistic statements, but in this case, it is more about a generous sharing of handmade art and a simple message to a stranger that is a gift to the art maker and the surprised recipient.

Making art is a deeply personal expression for most of us, and because of this, the act of giving it away, to a stranger...indeed, to leave it behind is both terrifying and liberating.  This art therapy process challenges the artist to consider a concept on a personal, emotional level, and then share it with a stranger.  By creating something meaningful, then lovingly gifting it away, the artist can work through issues of loss in other areas of their lives.

You'll need:  Small art canvases between the sizes of 4x6 to 8x10" on hard board, acrylic paints, brushes, water, Pens, high quality writing paper, dry glue sticks

Choose a word that reflects something that is important to you:  Hope, Courage, Love, Peace, Faith, Joy, Friendship, Mercy, Forgiveness etc.

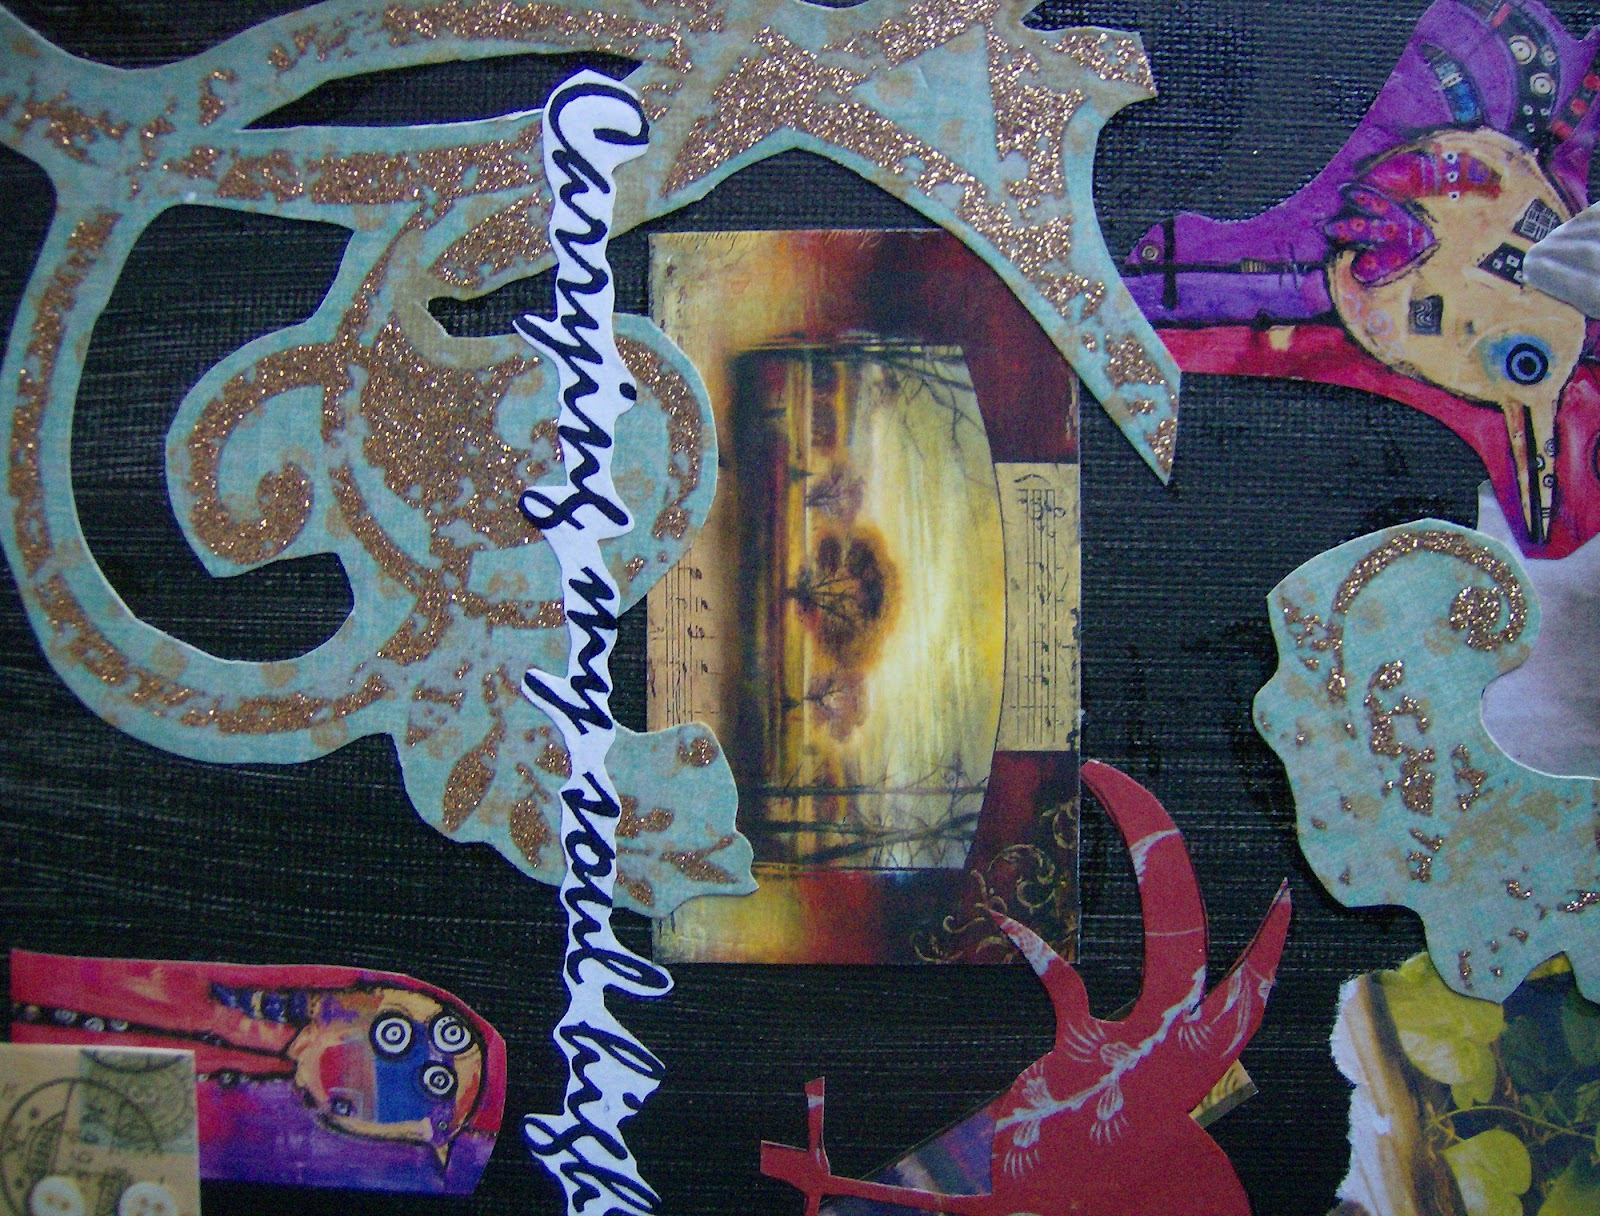
On the small canvas, paint an abstract expression of that word using color, line and movement. Use the entire canvas area, covering it entirely.  Let it dry.

Once dry, paint the word your chose boldly somewhere on the canvas, over the painting.  Allow to dry.

Pick up the paper and pen.  Cut the paper down to the size of the canvas.  Write the word "Found" followed by the word you chose to represent on the front of the canvas.  (so, you'd have "Found Love, or Found Forgiveness, Found Courage etc.

Read the rest at : http://treasuringgrace.blogspot.com/2013/05/making-whole-healing-through-art-found.html

Friday, July 27, 2012

Handmade Butler's Tray: Summer Collage Project

Summer in Wisconsin - and just about anywhere for that matter - means family and friends getting together for BBQ'd delicacies while enjoying the warm summer breezes with a cool drink.  This season those evenings may be few and far between with temps the highest they've been in 90 years, however they do present a unique chance to work some special magic and get all crafty!

At least - that's what I told myself when I decided that I needed a tray to serve drinks, food or just to carry things from one place to another.  Often called a "butler's tray" these wonders of convenience were, at one time,  made of silver and highly polished.  There's no way I can afford either the money to buy one of these or the time to polish it, however that didn't stop my wanting one.  So, I did some research, and some crafty designing and here's what I came up with.

You will need
Picture frame, 11-inch by 14-inch, 1-2 inches deep with glass
1/8" piece of wood - cut to fit the frame
Paint to match the frame
Screwdriver
2 handles
Screws
Cordless drill
Patterned Scrapbook paper
Scissors
Glue stick

The first step is to take the frame apart.  Set aside the back and glass - you'll need them later.  Put the handles against the frame so that they may be fastened at least halfway up the outside side of the frame. They should be easy to use - so you'll have to test them (I used painters tape to hold them in place until I was ready.) Predrill holes for the screws to keept the frame from splitting. Make sure the screws are only as long as the frame wood is wide. For example, if the frame wood is 1/2 inch then the screws should only be 1/2 inch long. Screw the handles in place - but make sure they don't go all the way through the frame.

Lay the paper or cardboard backing that you removed from the frame on a table.  Place your paper on the backing and cut it to size.  Get creative, no one said you just had to use 1 piece of paper! Glue it into place.   While the glue is drying, paint your piece of wood. I painted mine the same color as the frame - but you can use your imagination (or any leftover paint you may have).  Allow it to dry completely before assembling your tray.

Turn the tray upside down and place the glass in first, then the scrapbook backing, then finally the piece of wood.  Secure it all by placing screws or nails (at a slight angle) into the frame making sure they overlap the back to hold it in place.  Test it before using with anything heavy as you may need to reinforce it before using it to serve heavy items. 

There you go - you're very own serving tray.  Now if I just had the butler to go with it!

~ Dani

Friday, April 27, 2012

Collage Wall Art: Make Your Statement Extra Personal


So - my sister is moving - again.  And while I admire the fortitude it takes to move across the country once more, I am green with envy over the possibilities she gets to decorate different homes every couple years.  With that thought in mind, the next few blog posts will be about making your own home decorations - the (of course) artsy girl way!

While I admit that just buying your new decorations would be much easier - and I'm sure Diane would think so after spending hours upon hours unpacking boxes and cleaning her new home - I just can't get my arms around spending the money.  It could be my inherent frugalness...or I could just enjoy the challenge of making something new.  Either way, we have to start somewhere - so let's start with something fun and easy to do. 

I started by asking myself what would make the biggest impact - but look really artsy/cool.  Walls came to mind.  Now, I admit the easiest way to decorate a wall would be to hang some pictures on it - - but where is the fun in that!  Let's make something that tells a story.

I started with some pieces of heavy cardboard (used boxes for those of you who haven't figured it out yet!), that I then cut (with a razor blade) into irregular shapes. I traced the edge of one piece, onto a second so that they will fit together like puzzle pieces.  I then took some leftover paint I had laying around and applied a couple of coats to each piece, making sure it was nice and even. 

While it was drying, I looked through my boxes of extra pictures, funny cartoons, interesting arty business cards, etc....anything that looked interesting and that expressed something about your subject matter. Mine, of course, was all about me (lol) but you could do (Diane are you listening) each house that you've been in (hint hint), special trips you've taken or even one puzzle piece for each member of your family.  You choose.

After the paint was dry, I began to lay out the items in random patterns, overlaying some, trimming others into odd shapes, anything that suggests systematic randomness (is that even a phrase?).  You get the gist.  I cut out words from old newspapers and magazines to add to my creation.   Once my basic layout was complete - I broke out the Modge Podge and a sponge brush and started gluing the pieces on the cardboard.

Once I had the entire piece covered, I let it dry, then put another thin coat of Modge Podge over the entire piece.  I put it aside to let it dry completely while I worked on the other puzzle pieces.  Once they were all dry, I could really have some fun!  What could be more fun than this you ask?   Just wait!

Out of my magic box of craft supplies came squeeze bottles of dimensional paint, glitter, flat back rhinestones, googly eyes and a variety of findings, gear pieces, washers, miniature mirrors and anything else you could imagine.  With my hot glue gun ready to aim, I started with the paint and drew artistic lines through and around all the puzzle pieces, connecting them together without the use of glue.  I added sparkles with crystals, rhinestones and glitter on some, with more industrial hardware on others.  My mixed media art pieces took on added dimension.  Way Cool!

So - once the front dried - I wanted to give it some added dimension and raise it off the wall.  I had some foam blocks left over from an egg project which I cut and hot glued to the back of each piece in a number  of places, making sure that each piece was level, but not necessarily even with each other.  I hammered little nails in the wall and slide the foam pieces right over them so that each puzzle piece appears to float in the air.

Try it - it's a fun project for the whole family - and a definite conversation piece for any room!
~ Dani

Books by our Bloggers

ATA Girls Blog Hop: All People Creative Welcome!