Pages

Welcome!

This blog is for those of us girls (and guys) who love everything artsy and enjoy the challenge of discovering new and exciting ways of creating something wonderful. We do not discriminate against any artform but are willing to try them all and pass on our knowledge to you. In addition, we love to feature our ATA Girlz (and guys) so that those people who can't draw a straight line - but love unique and handmade items - can help support our wonderful friends. Visit often to discover what we're "playing" with next!
Showing posts with label digital photography. Show all posts

Wednesday, October 31, 2012

Wordless Wednesday: Introducing Homer

We've been so busy creating interesting things to share with everyone, we haven't really taken any time to introduce ourselves to you.  I'd like to start by introducing the most interesting member of our family, Homer.

Homer is a Havanese and, in the 2 years he's been a part of our family, he's entrenched himself in our lives and hearts.  Given to me by a former boss who could no longer keep him, he joined us at about 8 months old.

Technically a companion for our father (who really didn't want a companion!), he is probably the smartest four-legged person our family has ever had.  The breed is known for being gentle and, although I scoffed at the idea, not barking.

 It took 2 months before we heard a sound out of him.


I think he realized that "grandpa" couldn't hear him (the doorbell, the phone, someone knocking, etc.) and so he took to standing at the base of whatever chair Dad was sitting in and "woofing" up at him.  When that didn't work - standing on his hind legs and putting his front feet on Dad's legs along with the "woof" did. 

He is an absolute joy and has become Dad's constant companion.  When we take Homer on "vacation" or to Doggy Daycare, there's always a phone call that begins with Dad singing "Oh where oh where has my Homer gone... Bring back, bring back oh bring back my Homer to meeeeeee!"

The pictures here were taken one day when "grandpa" and "daddy" were heading to the store together, leaving me "mom" alone with our little guy.


Picture one - -- ok Mom - where did they go and why didn't they take me!


 Picture two - -  you said they'd be right back -- where are they?

Friday, May 11, 2012

Frame Up Your Weekend

No weekend should pass by without completing some kind of project.  No... don't laugh at me... I mean it.  While I acknowledge that weekends are packed with sports activities, kids, cleaning, errands and various other tasks that don't get accomplished during the week, those of us with "artsy" blood running through our veins can not let the chance to allow our creative juices flow all over the place.  It is how we decompress, relieve stress and re-energize our souls.  That being said -the question becomes what to do with all that creative energy.   So - every Friday I'm going to give you all some instructions and ideas for cool things you can make that won't take a lot of time.  This week - let's think Bedrooms!

Spring is the best time for refreshing any old room - and nowhere needs it more than the bedroom.  That space which is meant to be a haven of rest most often becomes the room where all the junk collects.  Take a weekend and do a quick and easy bedroom re-do that will give you the space you've always wanted.

Use wicker baskets to put away items that would normally lay out on a dresser. Make use of the space under the bed by placing some plastic containers with covers on the floor.  Change the bed linens from the warm flannel to cooling cotton sheets.  Keep it simple. Once you've eliminated the clutter, and it starts to look like a room again, that's when you can get creative.

Create your own wall art and eliminate the miscellaneous pictures standing on the dressers easily with just a few materials.  Empty out your old wood frames of all the photos and glass.  Cover a table with paper and paint the frames any color you'd like.  For example, try different colors if you want a "funky 60's" type look or paint them all black or white if you want something more formal. You can even mix and match the black and white for an "art deco" look.  Your choice, be creative.

Once all the frames are painted and dried, lay them out on a table so that you create a 3D effect. Put some on top of others.  The trick is that they should touch on at least 2 sides.

Get out some short nails or screws and your hot glue gun.  Wherever the frames touch, you should put a small amount of glue, then nail or screw the frames together, making sure that the heads of the nails or screws rest flush to the frame.  Continue until all the frames are connected together.  Now comes the fun part!

Flip the unit upside down.  In random sections, replace the glass and add photos back into the frames, fastening them normally. In some others, add mirrors or just plain solid backs.  Place nails or hangers into the wall at various intervals to hold the unit in place.  Carefully flip the unit up and hang on the wall.  Add additional fasteners to the wall where needed to secure it.  Once hanging solidly, fill the solid and mirrored sections with extra photos or mementos.

This is a great way to use up those extra frames and get some extra space on the tables, dressers or nightstands.

Another great idea for some instant art is using scrapbook paper.  Pick up some inexpensive frames and insert your favorite patterned paper.  Keep the tonal values all the same, but mix them up.  If you eliminate the glass, you have mini shadow boxes that are easily hung together in sets of 3,6 or 9 and can hold small items while still giving a classy look.
~ Dani

Image:
License
Attribution Some rights reserved by Foxtongue

Friday, April 27, 2012

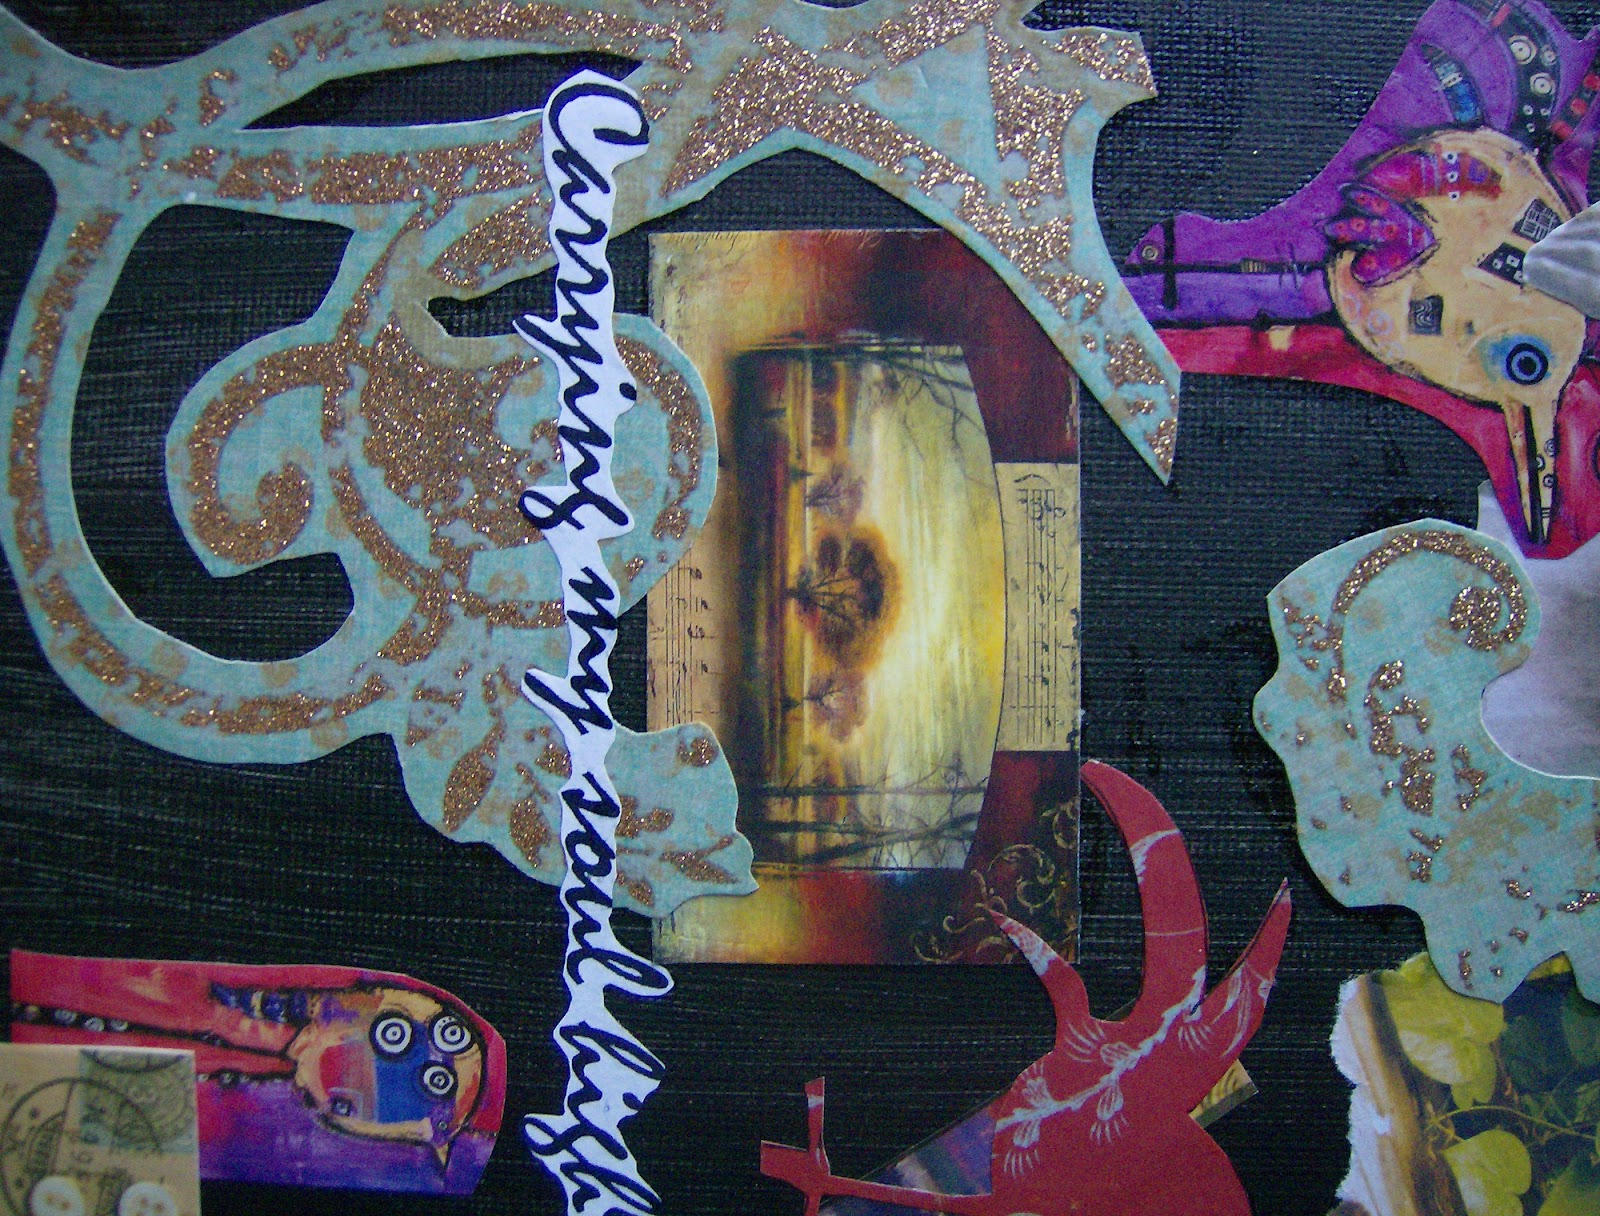
Collage Wall Art: Make Your Statement Extra Personal


So - my sister is moving - again.  And while I admire the fortitude it takes to move across the country once more, I am green with envy over the possibilities she gets to decorate different homes every couple years.  With that thought in mind, the next few blog posts will be about making your own home decorations - the (of course) artsy girl way!

While I admit that just buying your new decorations would be much easier - and I'm sure Diane would think so after spending hours upon hours unpacking boxes and cleaning her new home - I just can't get my arms around spending the money.  It could be my inherent frugalness...or I could just enjoy the challenge of making something new.  Either way, we have to start somewhere - so let's start with something fun and easy to do. 

I started by asking myself what would make the biggest impact - but look really artsy/cool.  Walls came to mind.  Now, I admit the easiest way to decorate a wall would be to hang some pictures on it - - but where is the fun in that!  Let's make something that tells a story.

I started with some pieces of heavy cardboard (used boxes for those of you who haven't figured it out yet!), that I then cut (with a razor blade) into irregular shapes. I traced the edge of one piece, onto a second so that they will fit together like puzzle pieces.  I then took some leftover paint I had laying around and applied a couple of coats to each piece, making sure it was nice and even. 

While it was drying, I looked through my boxes of extra pictures, funny cartoons, interesting arty business cards, etc....anything that looked interesting and that expressed something about your subject matter. Mine, of course, was all about me (lol) but you could do (Diane are you listening) each house that you've been in (hint hint), special trips you've taken or even one puzzle piece for each member of your family.  You choose.

After the paint was dry, I began to lay out the items in random patterns, overlaying some, trimming others into odd shapes, anything that suggests systematic randomness (is that even a phrase?).  You get the gist.  I cut out words from old newspapers and magazines to add to my creation.   Once my basic layout was complete - I broke out the Modge Podge and a sponge brush and started gluing the pieces on the cardboard.

Once I had the entire piece covered, I let it dry, then put another thin coat of Modge Podge over the entire piece.  I put it aside to let it dry completely while I worked on the other puzzle pieces.  Once they were all dry, I could really have some fun!  What could be more fun than this you ask?   Just wait!

Out of my magic box of craft supplies came squeeze bottles of dimensional paint, glitter, flat back rhinestones, googly eyes and a variety of findings, gear pieces, washers, miniature mirrors and anything else you could imagine.  With my hot glue gun ready to aim, I started with the paint and drew artistic lines through and around all the puzzle pieces, connecting them together without the use of glue.  I added sparkles with crystals, rhinestones and glitter on some, with more industrial hardware on others.  My mixed media art pieces took on added dimension.  Way Cool!

So - once the front dried - I wanted to give it some added dimension and raise it off the wall.  I had some foam blocks left over from an egg project which I cut and hot glued to the back of each piece in a number  of places, making sure that each piece was level, but not necessarily even with each other.  I hammered little nails in the wall and slide the foam pieces right over them so that each puzzle piece appears to float in the air.

Try it - it's a fun project for the whole family - and a definite conversation piece for any room!
~ Dani

Saturday, April 21, 2012

Hand Colored Photos: Paint em and Scan em


I recently blogged about using MAC programs to alter digital images, but hand coloring black and white 35 mm pics the old-school way, using photo paints, is still the best.

 This seems to be, for me, the only real way to get the movement, and depth necessary to convey mood and drama in some types of photography.

Once the originals are painted, they can then be scanned in a high resolution and used as you would any digital image; to create cards, personalize just about anything, make decals, iron-ons, blow-up and frame or whatever else you can imagine. 

Here are some examples that will be for sale soon on our ATA Girls store envy site!

~ Diane

Saturday, April 7, 2012

Mac App Art : Hand Colored Photo Look Made Easy

I used to love to do black and white photography (yep, real 35mm film and everything) and then hand-paint great images (and some not so great images) with photo paint to make certain areas stand out for dramatic contrast.  Although I still love my super dramatic Angel statuary series of hand-painted images, limited time and space for all those art supplies has made digitizing those efforts a necessity.  Instant gratification has its happy place in my heart (and portfolio) as well though, and I love some inexpensive Mac Computer Apps that make digital photo editing quick, easy and fun. A program that gives you that black and white, hand painted look is iSplash.  This App will take a color jpeg and turn it into a black and white. Then, you can use a "tool" to colorize sections of the image.


Here is the original                             Here is the iSplash version

The results are beautiful and print worthy. They can also be used to make personalized greeting cards, stationary, wrapping paper, or iron on transfers or anything else you want to do with your own photography.

~ Diane

Books by our Bloggers

ATA Girls Blog Hop: All People Creative Welcome!